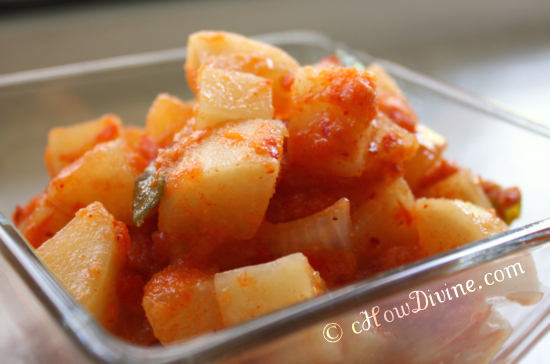
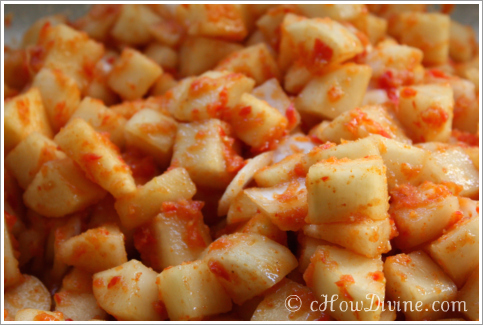
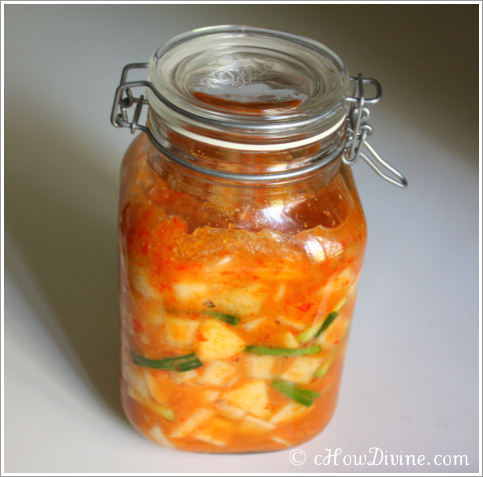
I made Kkakdugi (Radish/Daikon Kimchi) over the weekend. And my home-made Kkakdugi turned out so delicious! It made me wonder why I don’t do this more often. And to think, I only decided to make it because of a troubling ingredient in my store-bought Kkakdugi/Kimchi. I guess it was a blessing in disguise.
I was reading the ingredients of my go-to, store-bought kimchi the other day. And to my shock, my “preservative-free” kimchi contained MSG. I guess the “preservative-free” on the label gave me a false sense of comfort (well, enough comfort not to check out the ingredients for 3+ years!). I know; MSG is not a preservative. And it’s not false advertising. But I’m sorely disappointed that my go-to kimchi is not the probiotics-filled, all-natural goodness I once thought it was.
So I decided to make my own probiotics-filled, all-natural Kkakdugi (Radish Kimchi) – sweetened with fruit and honey, instead of sugar. Kkakdugi is traditionally made with Mu (or Moo) – Korean radish. Mu is usually thicker and shorter than a Daikon. But if you can’t find Mu at your local grocers, Daikon is a good substitute; that’s what I’m using.
Luckily, Kkakdugi is pretty easy to make. And you can make it in relatively short amount of time. So if this is your first foray into Kimchi-making, I highly recommend Kkakdugi. Not only is it easy, it’s probably the most foolproof of all Kimchi.
And let me tell you. It is so delicious and totally worth the effort.
Kkakdugi (Radish Kimchi)
Ingredients
3 Daikon Radish (about 3 lbs)
½ Onion
1 Red Bell Pepper (small, about ½ lb)
1 small Korean Pear or ½ large Korean Pear (Do NOT substitute with other types of pears; if unavailable, omit it and add an extra ½ tsp Honey)
½ Fuji Apple
3 Garlic cloves, finely minced
½”-1″ Ginger , finely minced
1 tsp Honey
5 TB Gochugaru (Korean chili pepper flakes)
2 tsp Fish Sauce
2TB Salt
3 Green Onion, cut into 2-3 inch pieces
- Prep Work
- Wash Daikon Radishes with cold water. Peel with vegetable peeler if necessary. pat dry.
- Cut Daikon Radishes into bite-sized pieces (about ½ -¾ inches).
- Wash Red Bell Pepper. Pat dry. Take out the stem and seeds.
- Finely mince Garlic and Ginger. You can use a microplane if you have one on hand.
- Wash and peel Pear and Apple. Cut them into bite-sized pieces (similar to Daikon Radishes in step 1)
- Peel Onion. Cut into bite-sized pieces. Rinse with cold water. Drain. Pat dry.
- Clean and cut 3 Green Onions into 2-3 inch pieces.
- Instructions
- Place Daikon Radishes in a non-reactive bowl. Add Gochugaru to Daikon Radishes. Mix well using hands (use food-grade gloves; you may get a burning sensation if you use bare hands). Make sure the Daikon Radish pieces pick up the red color from Gochugaru.
- Add Salt to Daikon Radishes. Mix well.
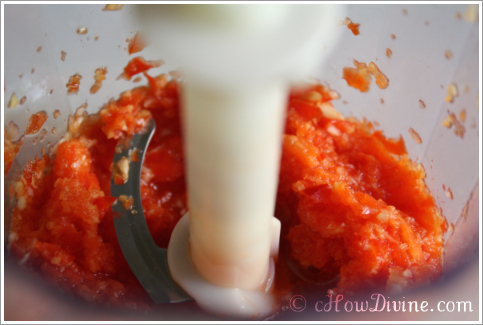
- Using a food processor, process the Red Bell Pepper. Do NOT completely liquify. Process until it takes on the appearance of large pepper flakes. Transfer to a mixing bowl. Add finely minced Garlic, Ginger, Honey, and Fish Sauce. Mix.
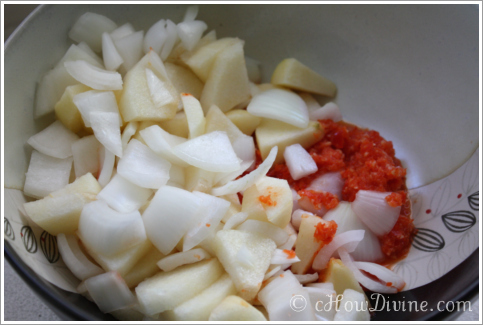
- Add the Onion, Apple, and Pear pieces to the processed Red Bell Pepper. Mix.
- Add the entire mixture from step 4 to marinated Daikon Radishes. Mix well.
- Add the Green Onions. Mix GENTLY.
- Transfer Kkakdugi into a jar with a tight fitting lid. The jar will be sitting out in room temperature for a few days; so, make sure the jar is VERY clean. Scrape all seasoning and liquid into the jar. Push down on the Kkakdugi with your hand – as if you are trying to pack it in as tightly as you can. Leave some room on top; as the Kkakdugi ferments, it may bubble over/overflow if no room is left on top. Close the lid.
- Leave the jar out in room temperature for 48-72hours depending on the room temperature and preference.* Refrigerate.
*As a reference point, I fermented mine for about 2½ days in 70(lo)-85(hi) degree F weather. I prefer my Kkakdugi on the more fermented/sour side. It was perfect.

