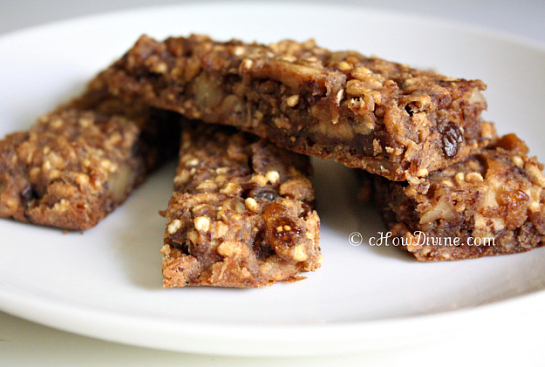
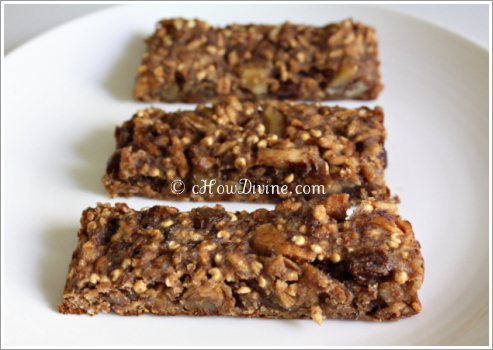
I baked gluten-free breakfast bars (or snack bars or non-granola “granola bars”, whichever) over the weekend. They were chewy, hearty, sweet, and delicious. We enjoyed them as breakfast bars with coffee, and as snack bars later in the day. Since I don’t bake often, my husband thoroughly enjoyed these rare homemade treats.
I rarely bake, because I don’t like the hassle of having to measure out every ingredient. But baking soothes my soul. And my soul needed soothing last weekend. Hurricane Irene paralyzed NYC over the weekend. EVERYTHING shut down. Luckily, we didn’t get the brunt of the storm. But many of our neighboring states and cities are still reeling from the aftermath. My thoughts are with them.
Gluten-Free Breakfast Bars/Snack Bars
Makes about 24 – 1″x4″ Bars
Ingredients
5 cups gluten-free puffed millet and puffed rice
1 cup gluten-free brown rice flour
¼ cup flax seeds (coarsely ground)
2 tsp cinnamon
½ tsp salt
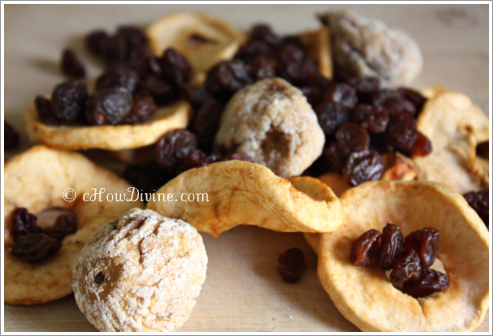
1½ cup chopped dried fruit (your choice: apples, apricot, figs, dates, raisin, etc.)
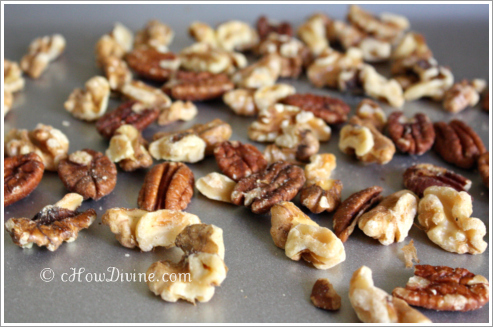
1 cup chopped walnuts and/or pecans (toasted)
¼ cup vegan, gluten-free chocolate chips: optional
½ cup agave nectar, honey, or maple syrup
¼ cup seed or nut butter (sunflower seed butter was used for this recipe)
1 cup unsweetened applesauce
¼ cup orange juice
up to ½ cup water (to moisten “batter”): if necessary
- Preheat oven to 350 F.
- Line a 9″x13″ baking pan with parchment paper.
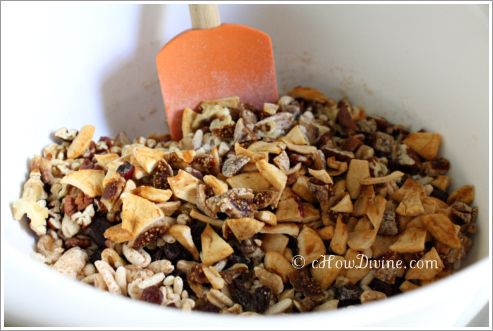
- In a large mixing bowl, add the dry ingredients: flax seed, brown rice flour, puffed grains, cinnamon, dried fruits, and nuts. Mix well.
- To the mixed dried ingredients, add the wet ingredients: agave nectar, applesauce, nut butter, and orange juice. Mix well. The “batter” should be sticky; if it isn’t – and it falls apart – add some water to moisten. Start with a tablespoon of water; and add more if necessary.
- Using a rubber spatula, place the whole mixture in the parchment-lined baking pan. Smooth out the mixture and pat it down using the spatula.
- Bake for about 30 minutes. The edges should look golden brown. Don’t overcook; you don’t want the bottom to burn.
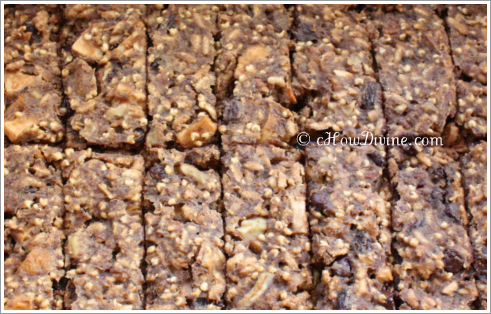
- Remove from the oven. Cut into bars while still soft and warm; at the very least, score them. Let it cool IN the pan.
- Remove from pan once cooled by lifting up the parchment. Separate into bars and serve.
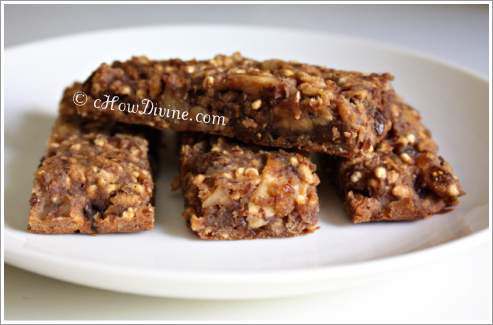
Best if served the same day. Enjoy with a glass of milk or coffee for breakfast, or as a healthy snack!
*For gluten-free cooking, please read labels carefully as practices vary from brand to brand.

I really like it when men and women arrive collectively and share opinions, fantastic weblog, maintain it up.
Thank you so much for the positive feedback!
Great recipe! A question: if not served on the same day, can they be stored in an airtight container in the pantry, and how long could they be stored for? Am looking for something to add to my daughter’s lunch box so would need them to last. Thanks so much!
Thanks Melia! These bars came about because we are trying to avoid wheat products, as well as oats (food sensitivity issues). Whenever I make these, they don’t last long. We eat them in a day or two! But I have stored them for up to 3-4 days without any problems. In the summertime, I do put them in the fridge tho and pop them in the oven for a minute, just to be safe.
I also throw them in my purse as a healthy, mid-day snack. It’s a lifesaver for someone who used to eat french fries for breakfast! 🙂 Hope your daughter likes them!
What a wonderful recipe! I’m so excited to try it out for a group of people. I just have one question: Is it 5 cups puffed grains total or 5 cups of puffed rice and 5 cups of puffed millet?
Hi Melissa! It’s 5 cups total. It’s a great alternative to high-sugar bars out there – without the gluten & oats. (I have sensitivities to both 🙁 ). This is more of a soft chewy bar tho – just in case you are expecting something crunchy. Let me know if you have any other questions!